What is the Dulux Promise?
Good to see you!
Welcome to Dulux
Terms & Conditions
Registration complete
Successfully registered, please login
Registration complete
Forgotten your password?
Please enter email address associated to your account
Change Password
Password changed successfully.
Request sent!
For more tailored inspiration, please fill in the 3 questions below.
You need to answer all of the questions before submitting.
Thanks!
Delete Account
Expert Help
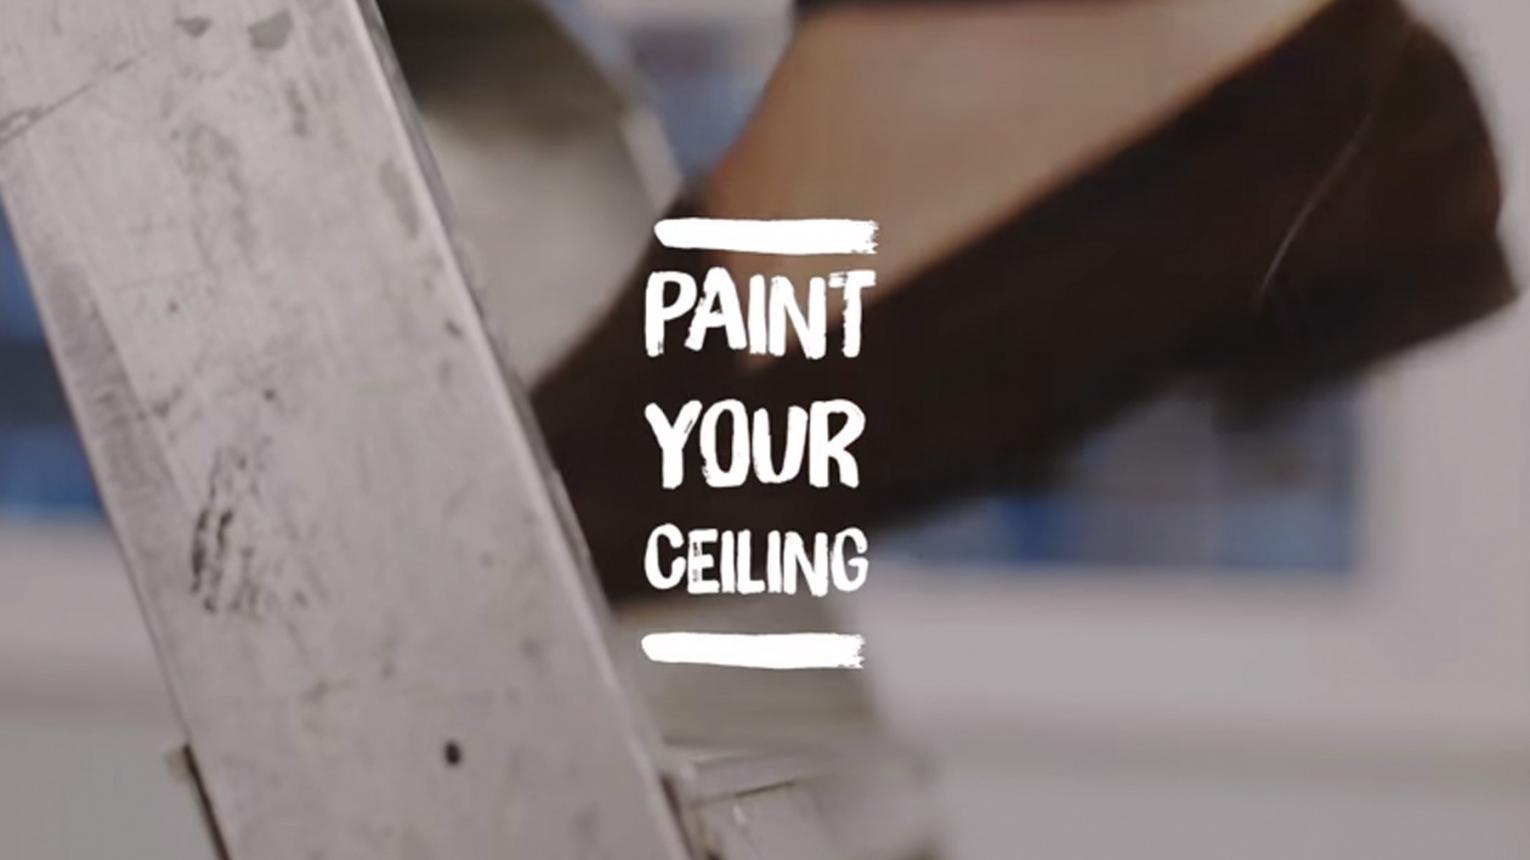
How To Paint a Ceiling
Discover how to paint a ceiling with Dr Dulux. Our resident decorating expert is on-hand to help you discover the best way to paint a ceiling for a perfect finish.

Painting your ceiling? Follow these tips for a brilliant finish.
The best way to paint a ceiling isn’t immediately obvious, which is why you’ve probably been standing beneath it just scratching your head. Never fear though, as Dr Dulux is on hand with expert tips to ensure your decorating endeavours are top notch. The best approach is to follow a step-by-step guide to get the fantastic finish you’re looking for.
Let’s get started.
Pick your paint and gather your tools
Choosing the right paint is your first step towards the best way to paint a ceiling. White is a popular colour for ceilings and it pays to consider different formulations to suit your particular needs. For example, Dulux Ultra White is a tough emulsion paint that works with light-reflective particles to significantly brighten a room and enhance a feeling of spaciousness. Dulux Magic White Matt helps to give your ceiling a professional touch with a formula that fades from pink to white in under an hour, ensuring you don’t miss a spot.
Don’t want a white ceiling?

Great! Bold colours on the ceiling enliven a room while creating visual interest and contrast. Consider matching yellows, greens or blues with a feature wall or to perfectly offset white walls. Colour on the ceiling acts to bring intimacy to a large space, adds instant character and it’s also an easy way to harmonise a colour scheme. For example, use the shade on your ceiling as a base for pops of a similar colour throughout your home.
After you’ve chosen the paint, it’s time to load up your toolbox. Here’s a handy checklist of the things you need:
- A small step ladder
- A clean broom and damp cloth
- A paint roller and tray
- An extension pole
- Sandpaper
- Low tack masking tape
- Emulsion brushes
- A cutting in brush
How to paint a ceiling
Ready to start? First up, clear your room and lay down drop sheets to protect the floor. If you have furniture that you can’t move, push it into the middle of the room and cover it with a sheet. If it’s possible to remove parts of any fixtures, like elaborate light fittings, do this too. Have all your tools within easy reach, pop on your favourite music and get set to make your ceiling shine.
Clean the ceiling
Have you been ignoring those cobwebs in the corners? Don’t worry, we all do it, but now it’s time for them to go. Brush the ceiling over with a clean broom and wipe away the dust with a damp cloth to thoroughly clean your canvas.
Fill cracks and sand it down
While you were up there cleaning, you probably noticed a few holes and cracks. If so, use a filler to cover them up and wait for it to dry. Then, sand any rough patches down to ensure a smooth surface.
Mask the fixtures
Low tack masking tape is the shield you need for any areas that won’t benefit from errant splashes of paint. Tape around edges, downlights, cornices and any other fixtures before you start.
Paint around fixtures and edges first
It’s time to open your paint and pick up your brush. Start by painting around the fixtures where a roller won’t reach. This same rule applies when considering how to paint edges between wall and ceiling. This technique is called ‘cutting in’ to create clean lines. Simply paint from the edge to an inch on the wall.
Move onto the larger areas
Fill up your roller tray, attach your extension pole and get ready to roll! How to paint a ceiling with a roller starts by working from the outside in, from a window or corner. Load up your roller evenly and roll the paint on in sections of about one metre long at a time. Move quickly from one section to the next, to ensure the paint along the edge doesn’t dry before you do the overlap. To get good coverage, it helps to paint in a ‘w’ pattern and finish off each section with one smooth roll.
The finishing touches
Congratulations! You’ve successfully conquered the best way to paint a ceiling. Depending on the paint chosen, you may need to wait for it to dry and do a second coat. Although you might be in a hurry to get the job done, it’s crucial to wait until the first coat is completely dry, in order to avoid making a mess of it. To paint the second coat, follow the same process as above.
When you’re finished and the paint is dry, it’s time to remove the masking tape around your fixtures, clean up the mess, pop your furniture back and pat yourself on the back for a job well done. When you see how great it looks, you might even be inspired to paint every room in the house!