Good to see you!
Welcome to Dulux
Terms & Conditions
Registration complete
Successfully registered, please login
Registration complete
Forgotten your password?
Please enter email address associated to your account
Change Password
Password changed successfully.
Request sent!
For more tailored inspiration, please fill in the 3 questions below.
Thanks!
Delete Account
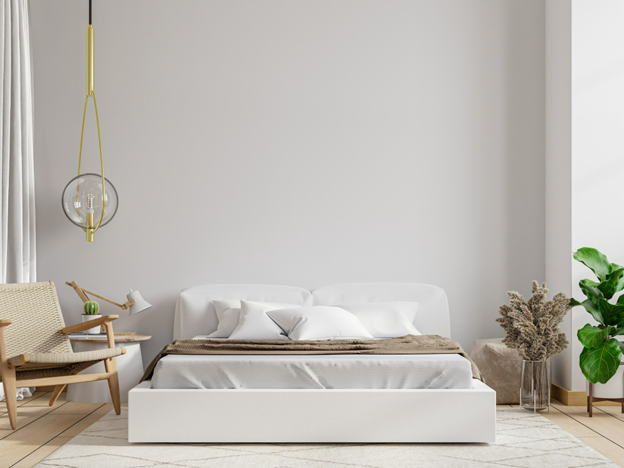
How to paint your wooden furniture
.png)
A simple makeover with paint can breathe new life into your old furnishings. Here are steps you can follow with a few basic tools to paint your old piece of furniture.
Prepare the work area
Put down a drop cloth to protect the floor and place the furniture piece over it.
Open windows and doors for proper ventilation in your work area.
Wear a face mask and some gloves to protect yourself from the dust.
Prepare your furniture
Remove any hardware or fixtures to cut in every furniture corner and make the painting look professional.
Then clean your furniture with warm soapy water.
Apply wood filler to patch any holes or chipped areas. Take a putty knife, scrape away any excess wood filler, and let it dry.
Take sandpaper and sand the furniture to remove varnish and smooth the wood surface. It will make it easier for the primer and paint to adhere.
Wipe the furniture with a damp cloth to remove any excess dust and debris.
Tip: Never sand across the grain in a circular motion because it will show scratches when you finish the piece. Move the sandpaper in one direction.
Priming and Painting
Apply an even coat of primer to make your paint last longer.
Take a paintbrush and a mini roller. Gently brush along the corners, edges, and hard-to-reach areas. Then use a mini roller in wide-open spaces. Use your paintbrush to even out areas for a smooth finish.
Let the primer dry, and start painting with your choice of paint color. As you did with priming, use a brush to cut in and a mini roller for wide spaces.
Apply two coats with enough drying time in between to give your furniture a clean and professional look.
Let the paint dry completely before moving it to ensure you don’t leave any print on the half-dried paint.
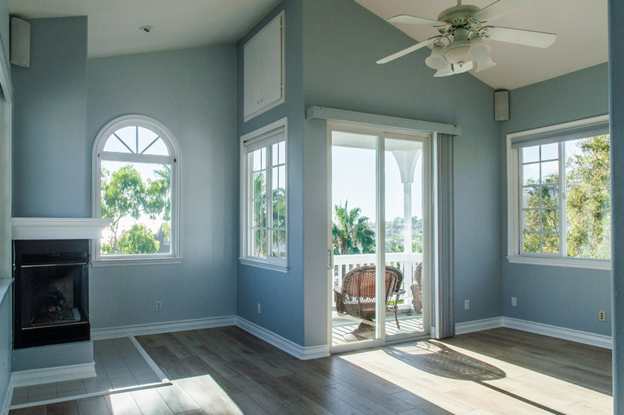
How to paint a room at home | Steps to paint
You prepared the room, mixed the paint, and got yourself in comfortable clothes. Now before getting your hands dirty, you need to know where to start. Knowing the order to paint will help you paint seamlessly.
1. Ceiling
Adopt a top-down approach. Start from the ceiling. Painting the ceiling first will allow you to coat the surface without worrying about any splatter on the walls.
While painting the ceiling, paint the edges with the brush first, then use a roller. Also, open the windows to have good ventilation in the room.

2. Walls
Painting walls is similar to how you paint a ceiling.
When the ceiling paint dries, apply painter's tape at the edges and paint them with a brush.
For walls, use the roller. Move it in a zig-zag pattern- W or V-shaped strokes for good coverage.
For painting close to the edges, turn the roller sideways.

3. Trim
Apply painter's tape on the trim edge when the wall paint dries. Press the tape with a putty knife to get straight lines on the trim. Remove the painter's tape just after or before the paint dries; it will prevent peeling off.
4. Door and Windows
Paint doors and windows with a small brush. Again you can use tape to prevent paint from getting on the wall. Apply at least two coats of woodwork paint, and remember to give each coat enough time to dry.
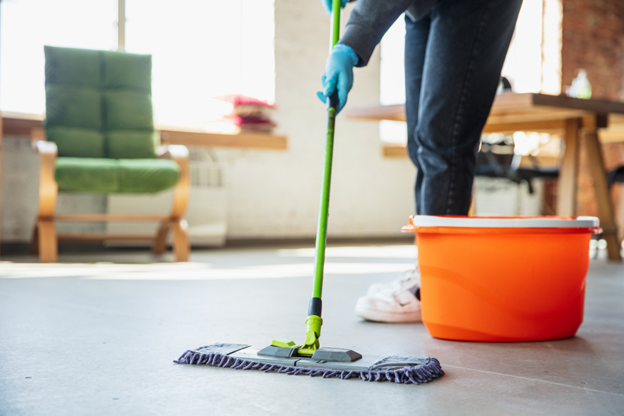
5. Clean- up
When you are done with your paint coats, it's time to clean up. Make sure to tightly seal the paint cans and clean the brushes thoroughly with warm soapy water. Remove the drop cloths and clean the floor.
Add a new job
Add a new job
Edit a job
Delete job
Are you sure? All notes, photos and saved items will be deleted.
Save colour
Save to My Workspace
Save product
Save job