Good to see you!
Welcome to Dulux
Terms & Conditions
Registration complete
Successfully registered, please login
Registration complete
Forgotten your password?
Please enter email address associated to your account
Change Password
Password changed successfully.
Request sent!
For more tailored inspiration, please fill in the 3 questions below.
Thanks!
Delete Account
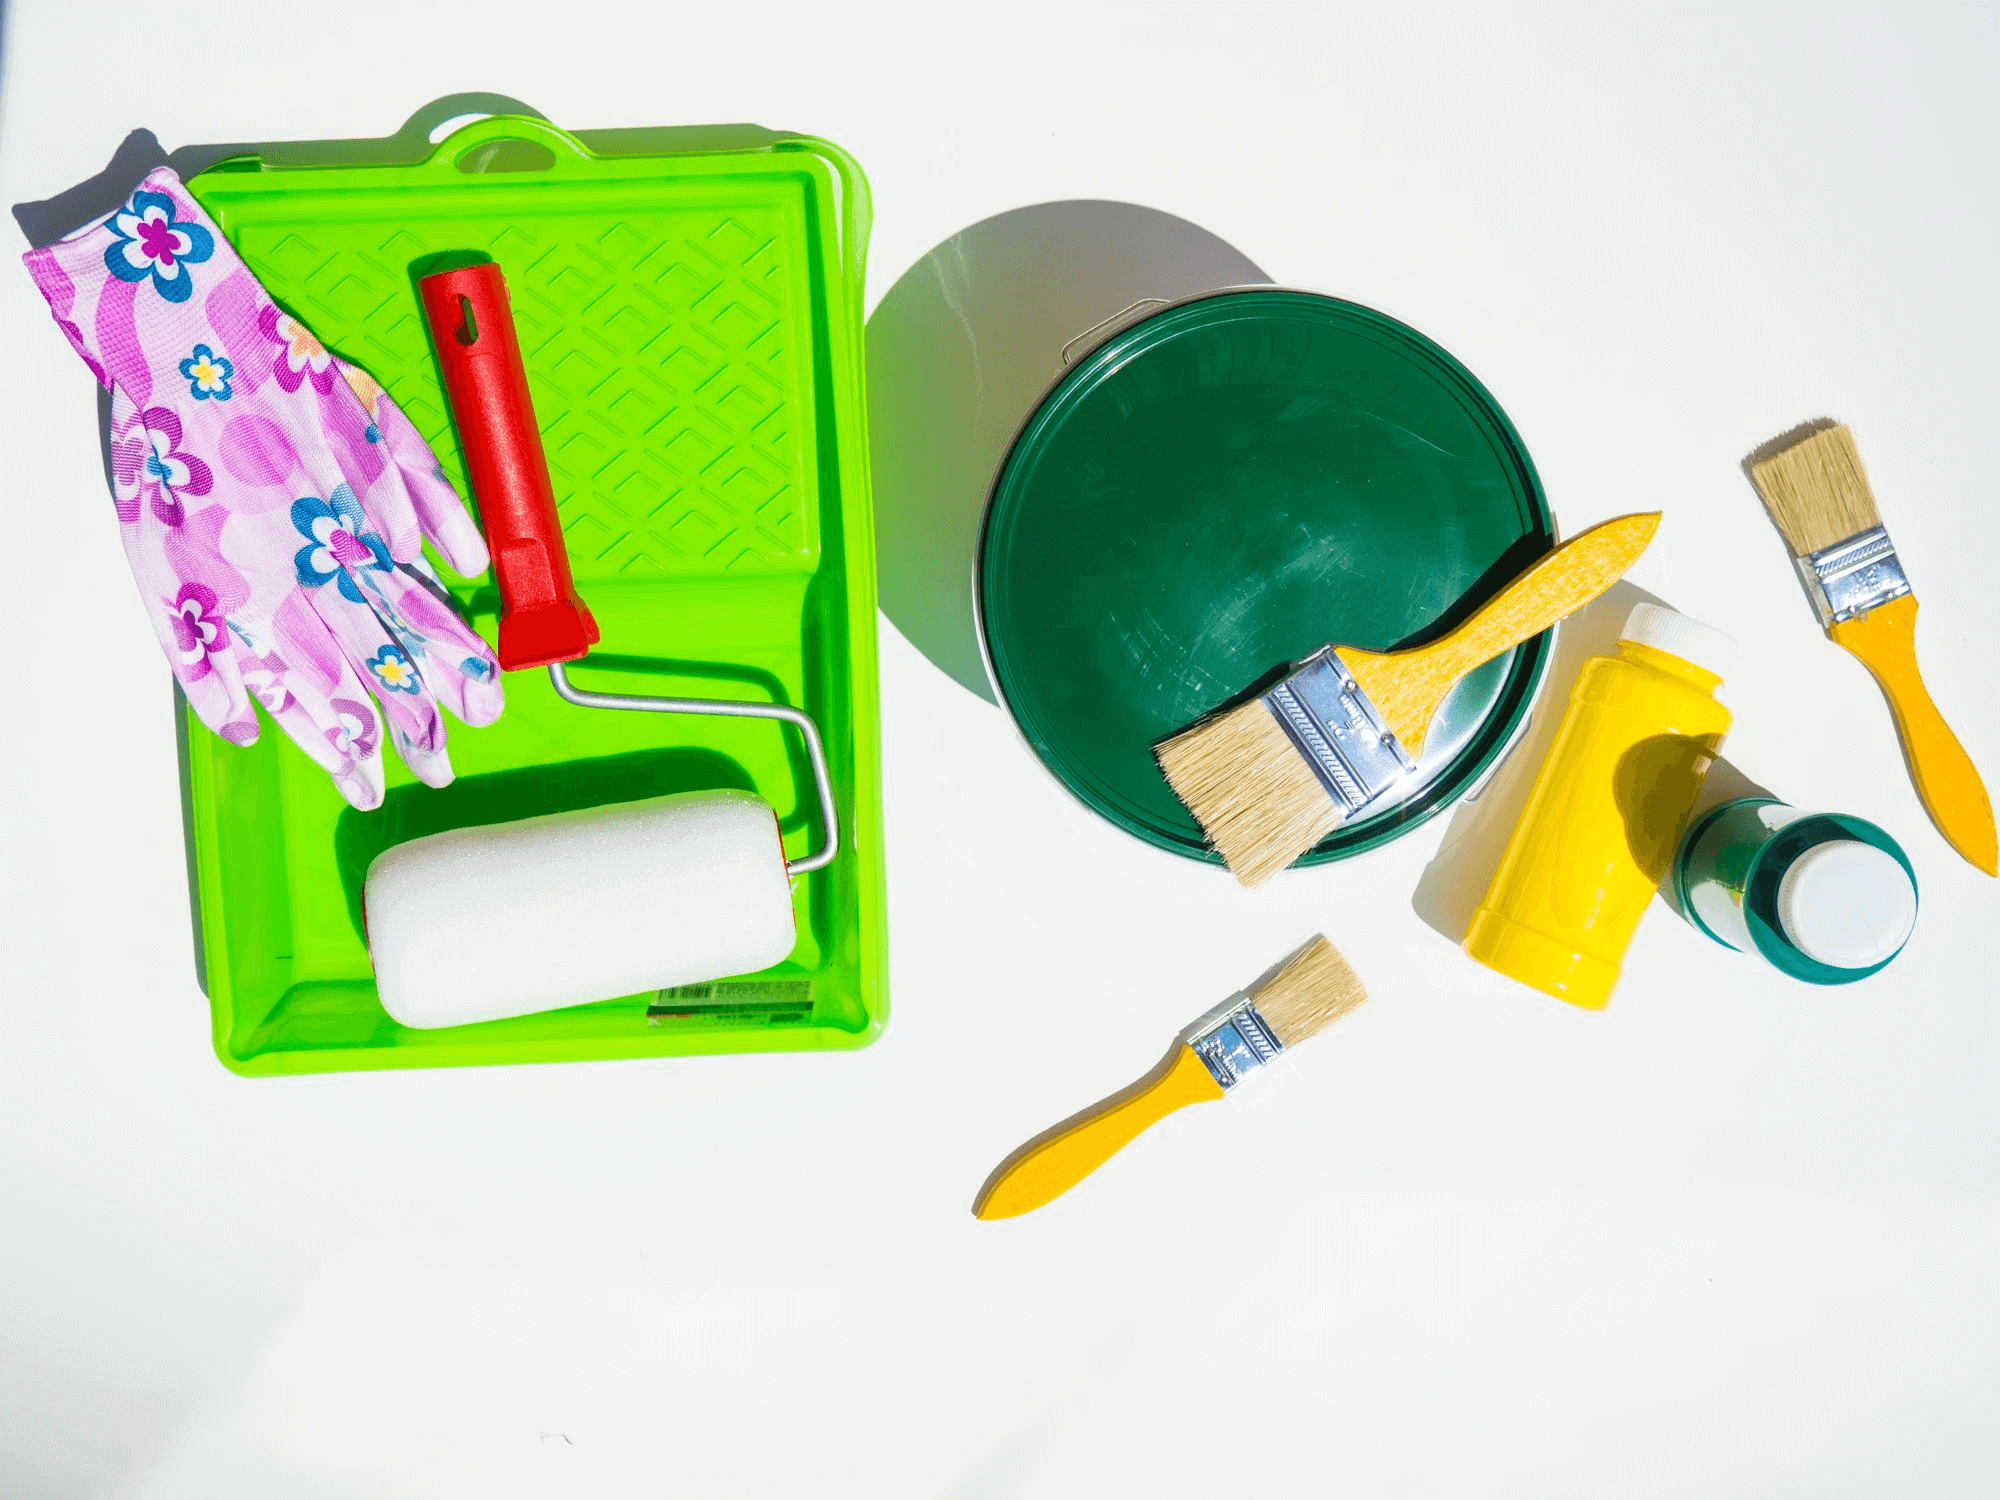
Step 1: Gather the tools
Besides the paint, there are some tools that you need to gather to prepare your room for painting. To name a few, you'll need drop cloths, non-slip plastic covers, painter's tape, cleaning cloth, putty knife, sandpaper, and clothes that you won't mind getting paint on. Make a list of what you have and what you need to buy.
After assembling all the tools, it's time to get on with the work.
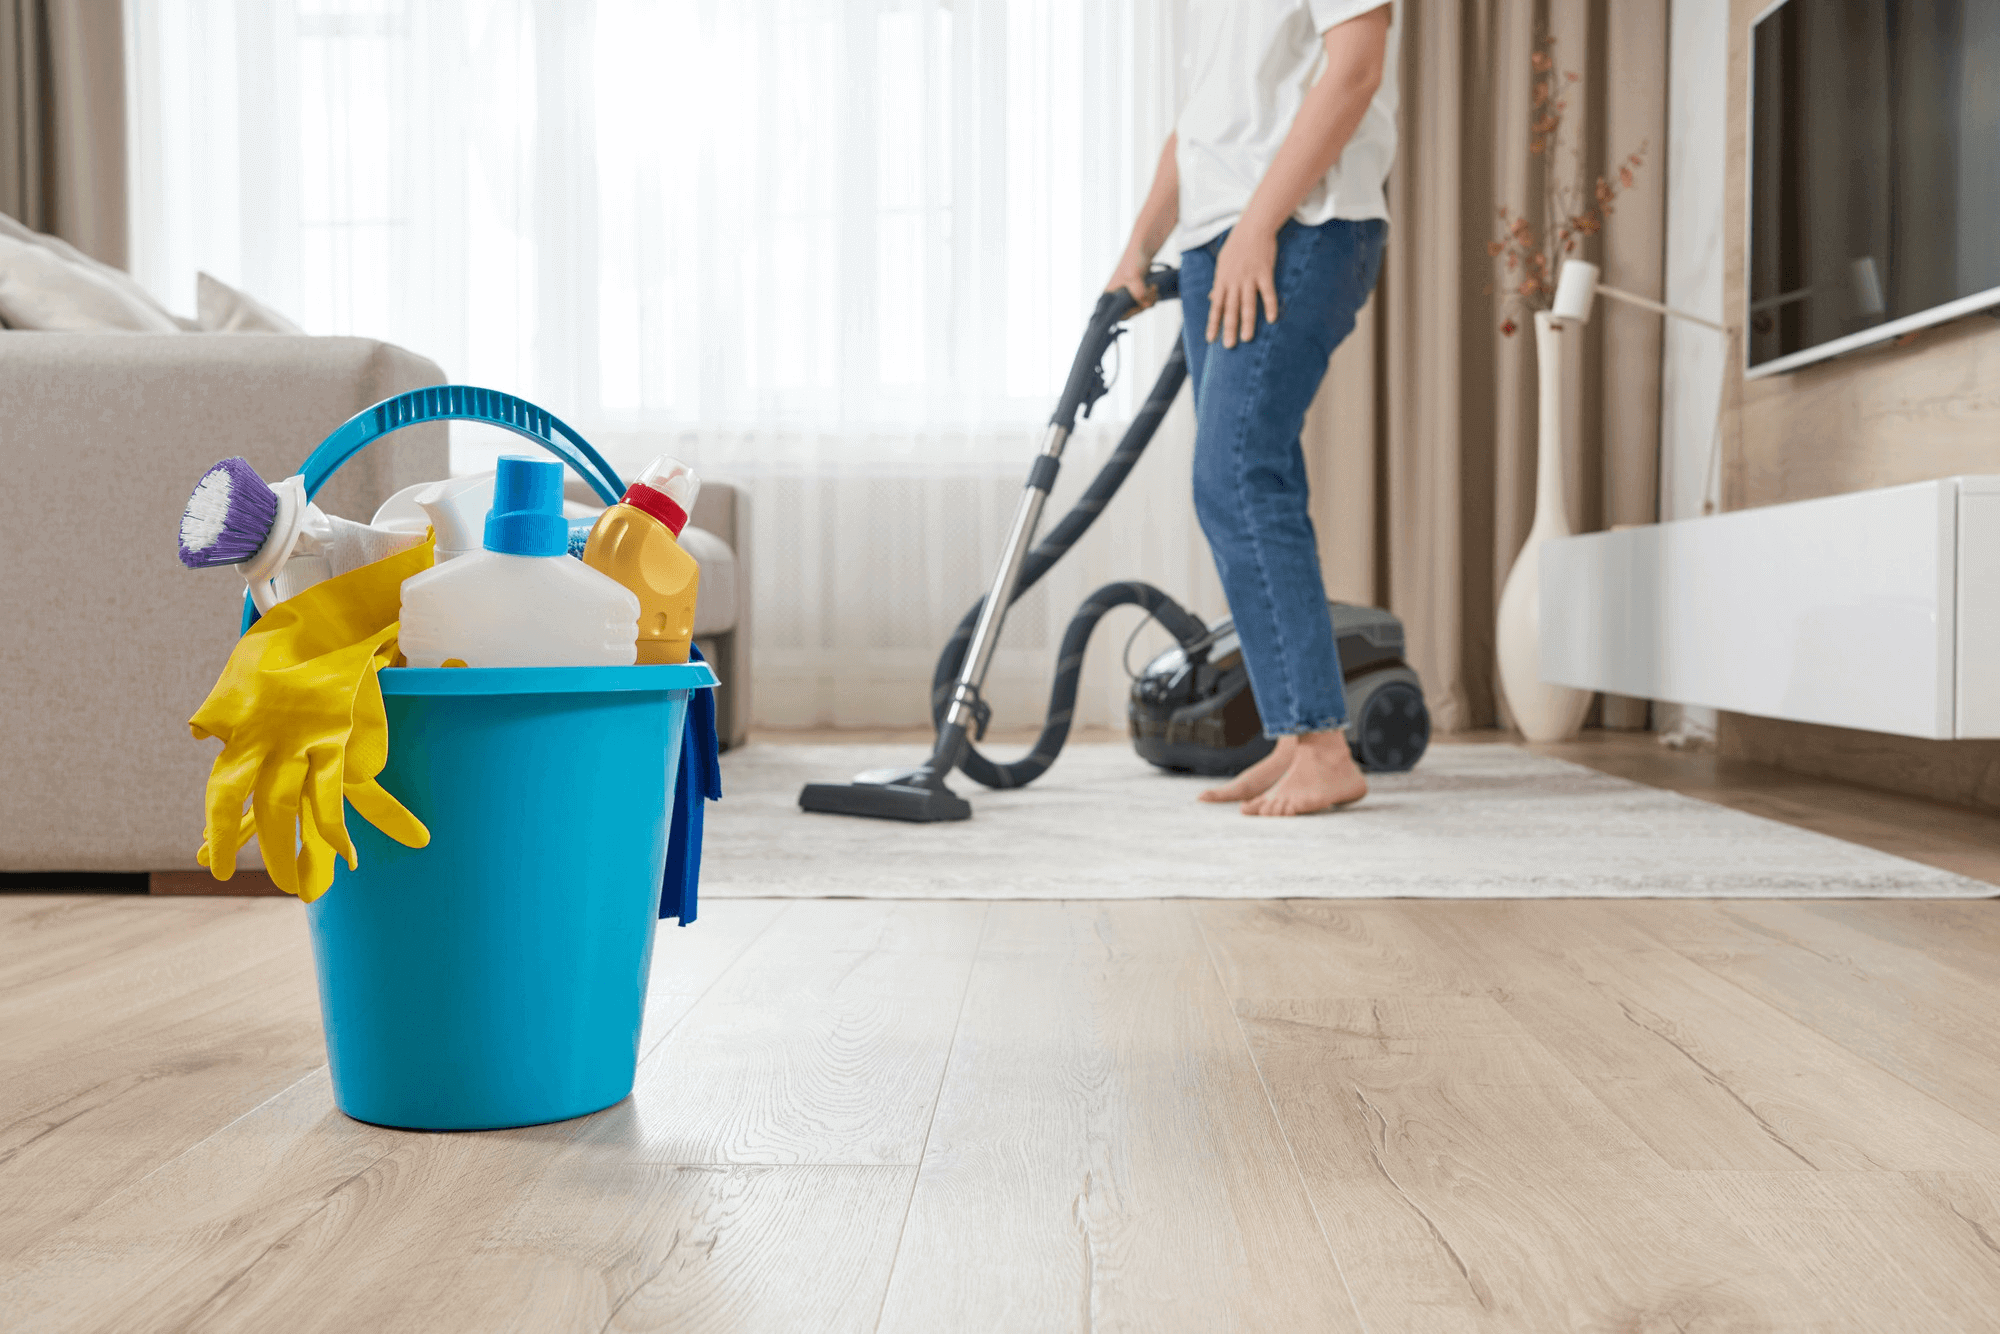
Step 2: Clean out the room
Furniture-
Preparation starts with cleaning out the room you want to paint. Remove furnishings like the coffee table or light stand from the room. If there is furniture that cannot move out, you can place all of it in the center of the room to work without hassle. Make sure to cover the furniture with drop cloths or plastic covering to protect it from paint drips, splatters, and sanding dust.
Decorative items-
Carefully remove clocks, artworks, picture frames, and other decorative items from the room. Wrap them up carefully and store them away in a safe place.
Fixtures-
For items you don't want to paint, cover them with painters' tape. Protect doorknobs, door frames, baseboards, windows, electrical boards, and switches. You can loosen sockets and switches to paint trim around them without getting paint on them.
Also, to avoid any paint bleed, run a putty knife over the tape to firmly press it down for a good seal.
Floors-
Use clean drop cloths or plastic to cover your flooring and prevent damage from drops and spills. Consider using painter's tape to secure the covering to avoid damaging your floor from any spillage of paint.
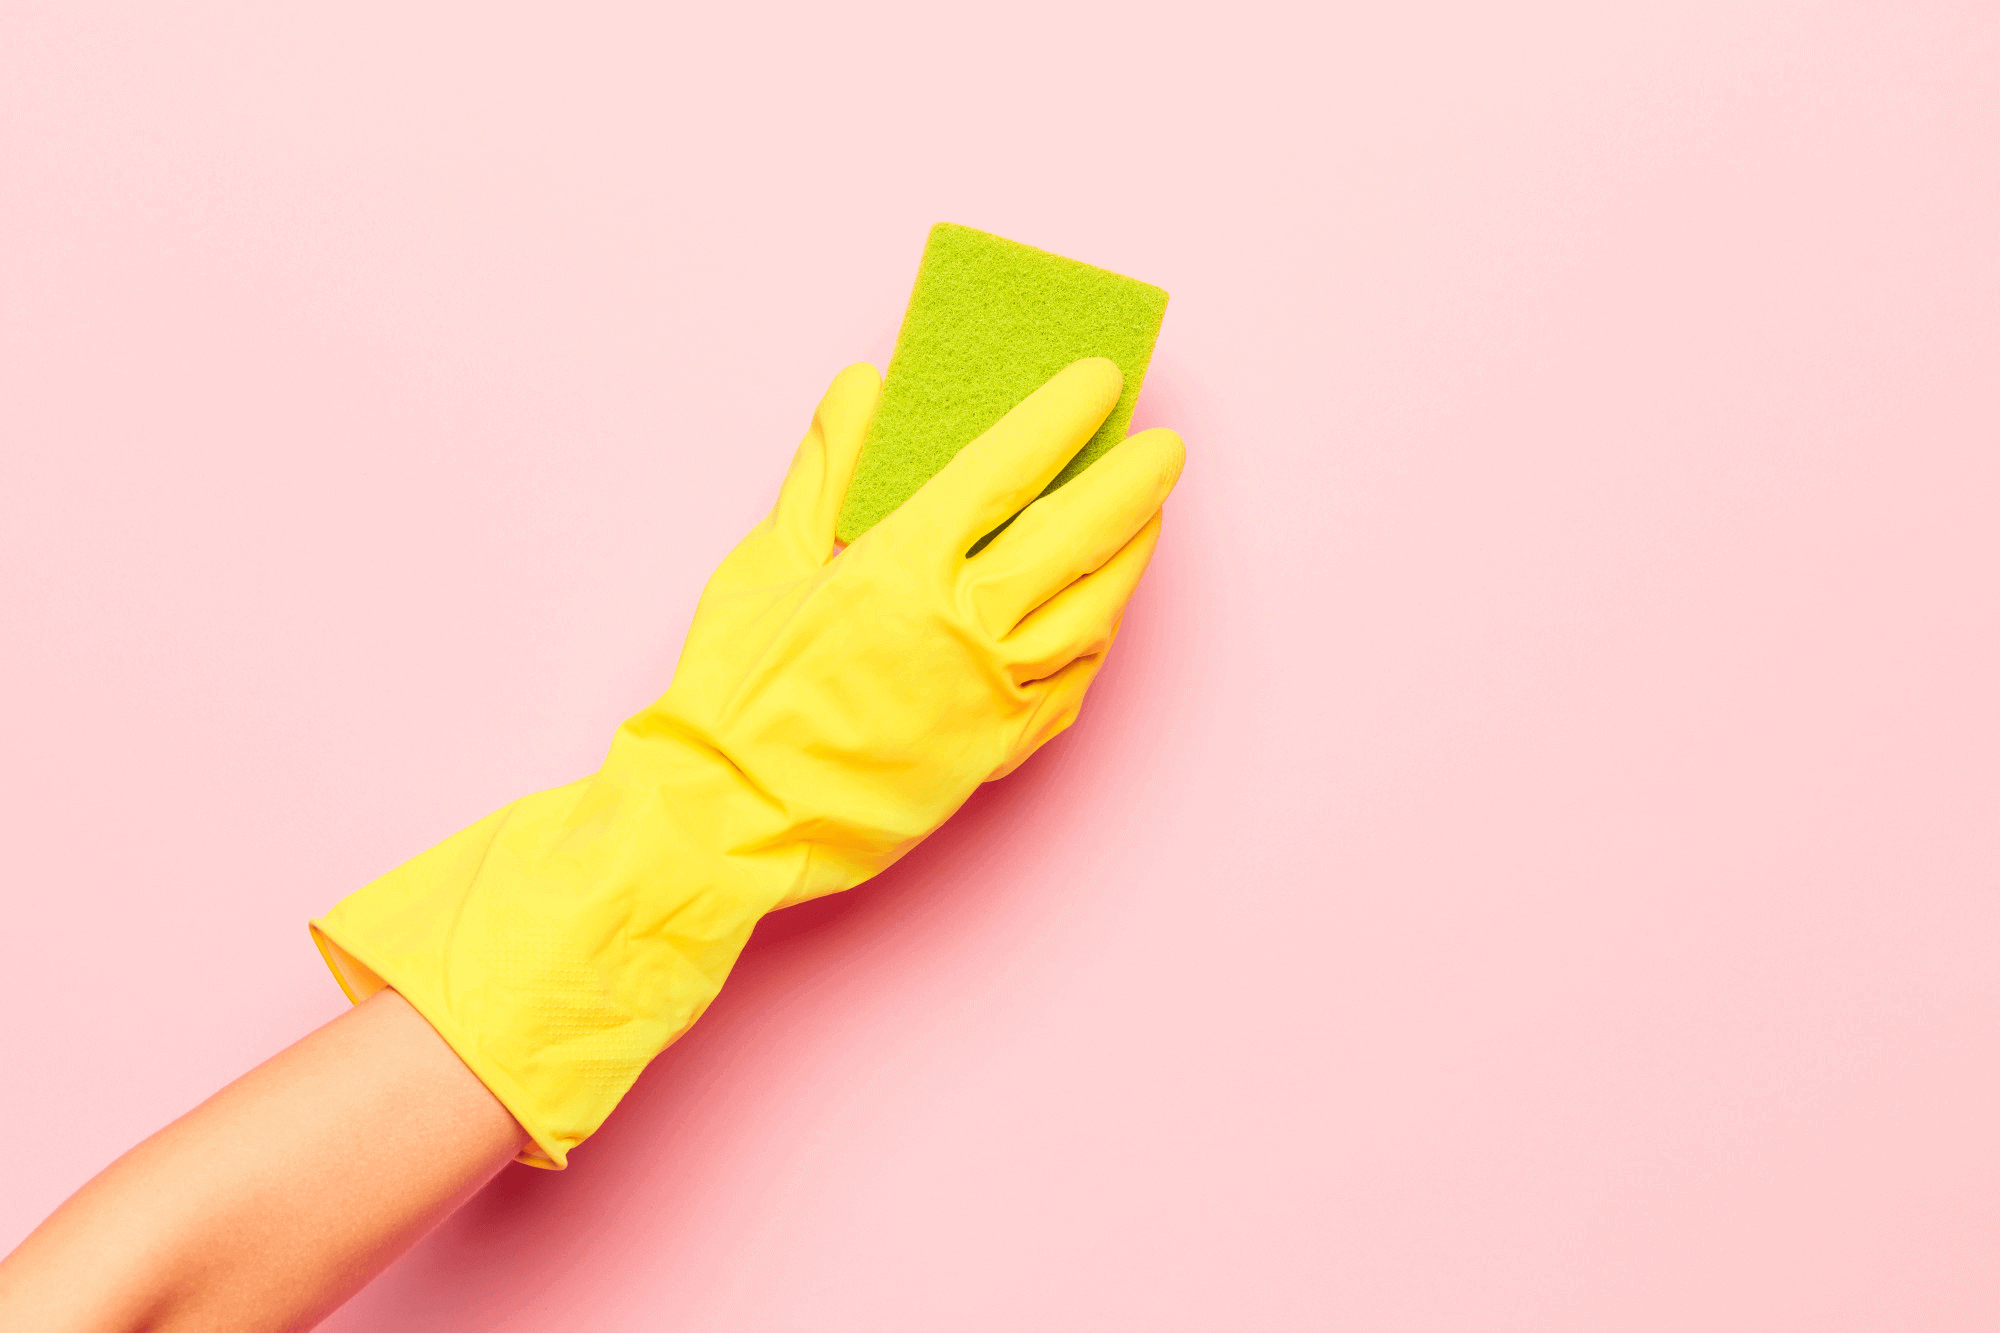
Step 3: Tidy the walls
Clean the walls-
Most people overlook cleaning the walls in the painting process. Failing to remove the collected dust and molds from the wall can make your paint job look terrible. So, take a damp cloth or paper towel and tidy the wall until it is clean.
Most walls can be cleaned with warm water and damp cloths, but for surfaces like kitchen walls with oil and grime, you can use grease-cutting detergent with water. Finish the cleaning by wiping with a cloth again.
Repair-
Painting over cracked paint, flakes, or holes is a bad idea; it is important to repair the wall before repainting. Use putty to fill in holes or any other cracks and a knife to smoothen the edges. Leave to dry before leveling it to the wall with sandpaper.
Dull the Surface For Paint-
Lightly sand and scrape the rest of the wall with fine-grit sandpaper. This will dull the previous paint and ensure the adhesion of the new paint. Now clean the wall again with a damp cloth before applying a primer.
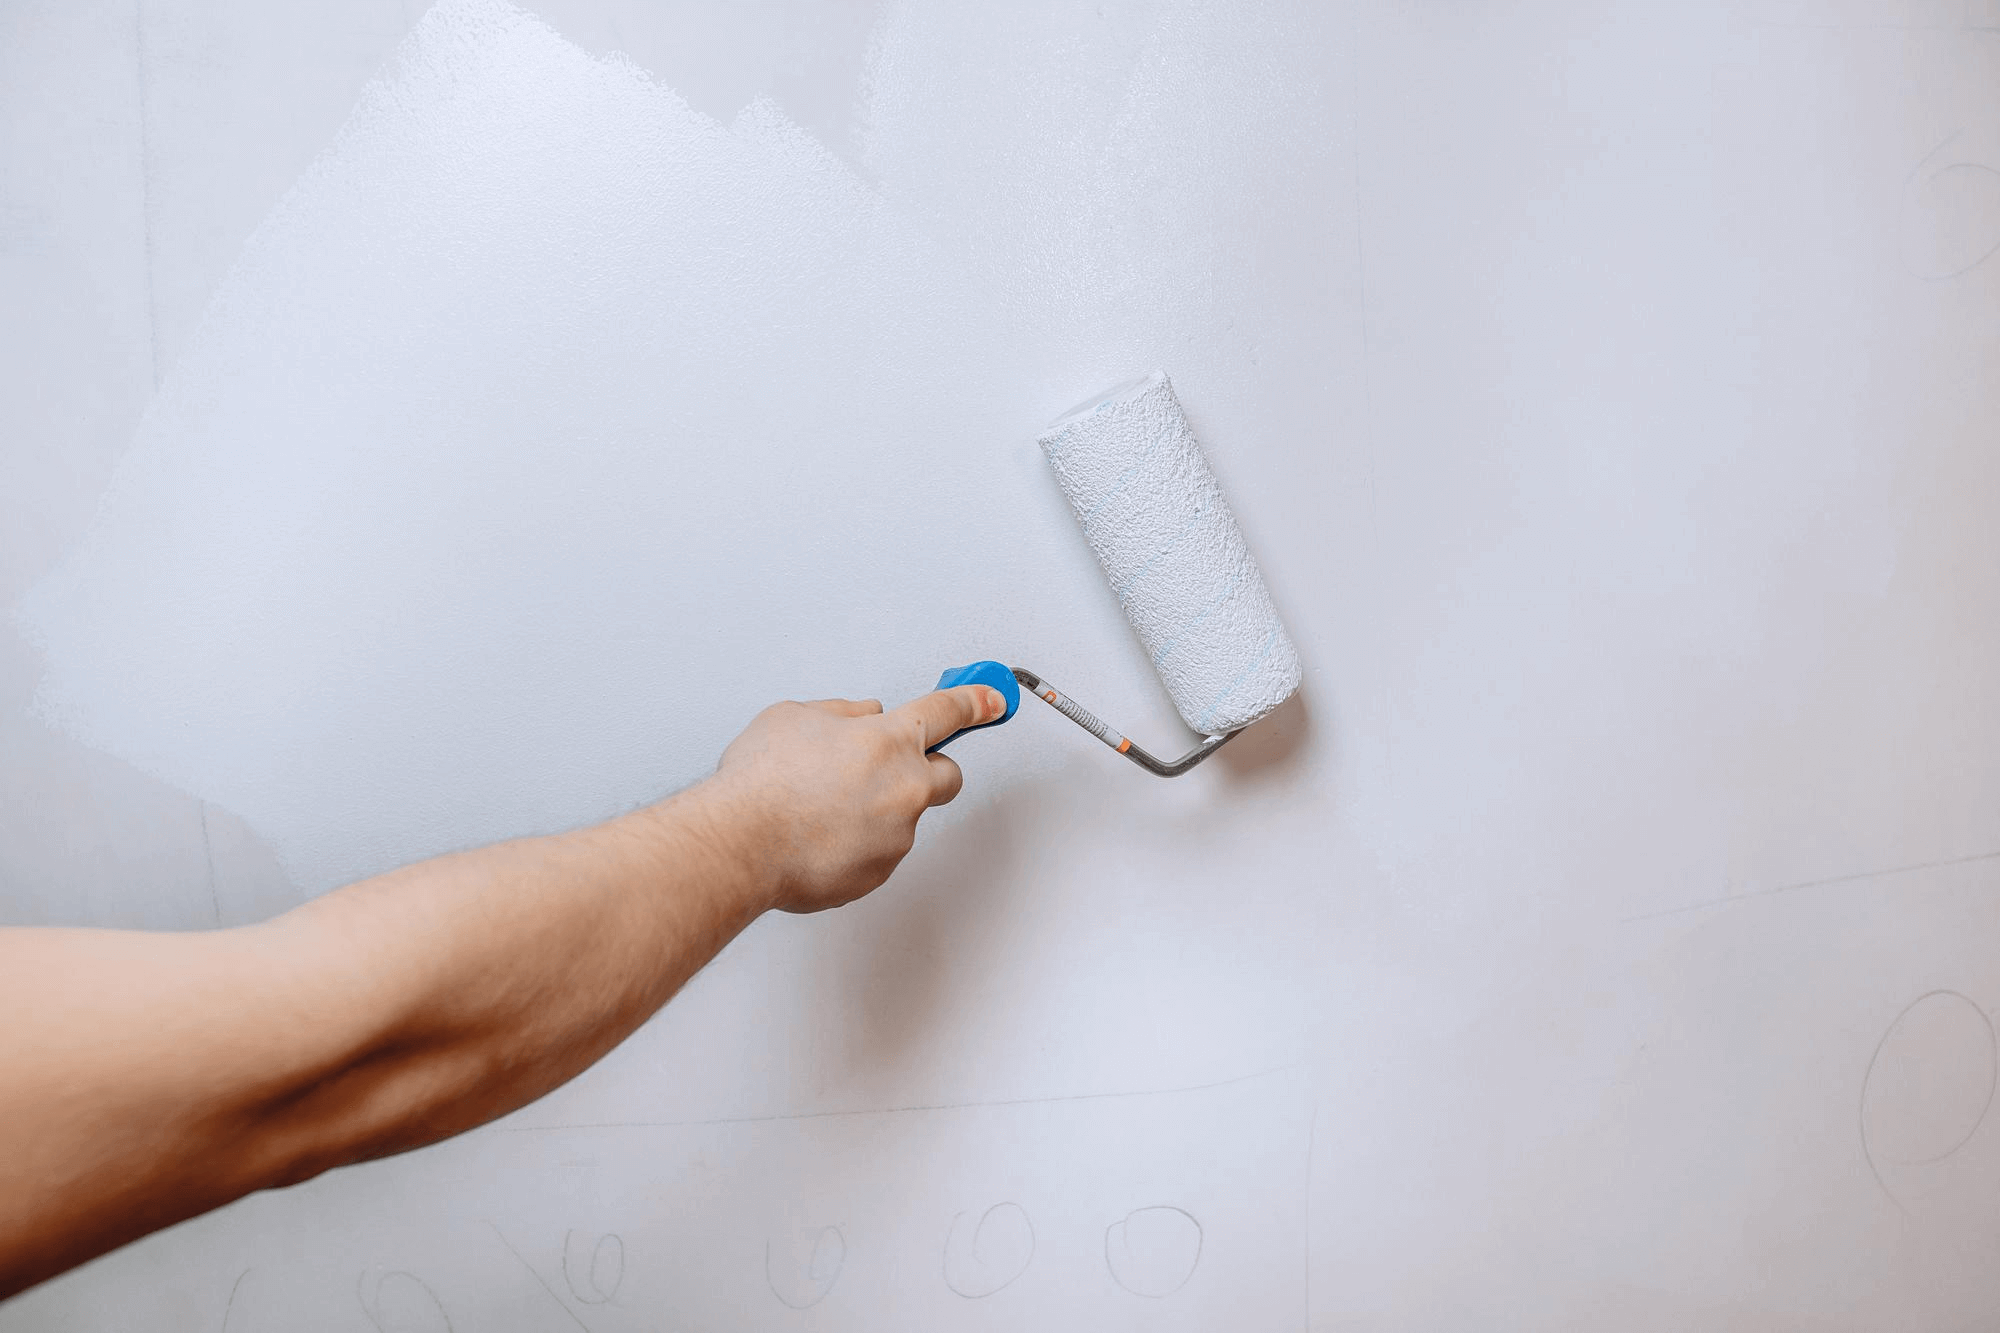
Step 4: Priming
Applying primer helps create a smooth surface and makes your paint last for years. Apply one or two coats of primer before painting for a good finish at the end.
